One of the best things I’ve done in my garden is set up worm farms. The amount of kitchen waste, cardboard and paper the worms digest is fantastic and I get amazing worm castings and worm tea for my garden (some of the best fertiliser and soil improver around hands down). It’s incredible to think worms can feed on waste and give us a fabulous product we can use that saves us money in the garden and eliminates the need for synthetic fertilisers.
* Worm castings are worm poo.
* Worm tea is made by placing worm poo in water (usually aerated) and making a brew.
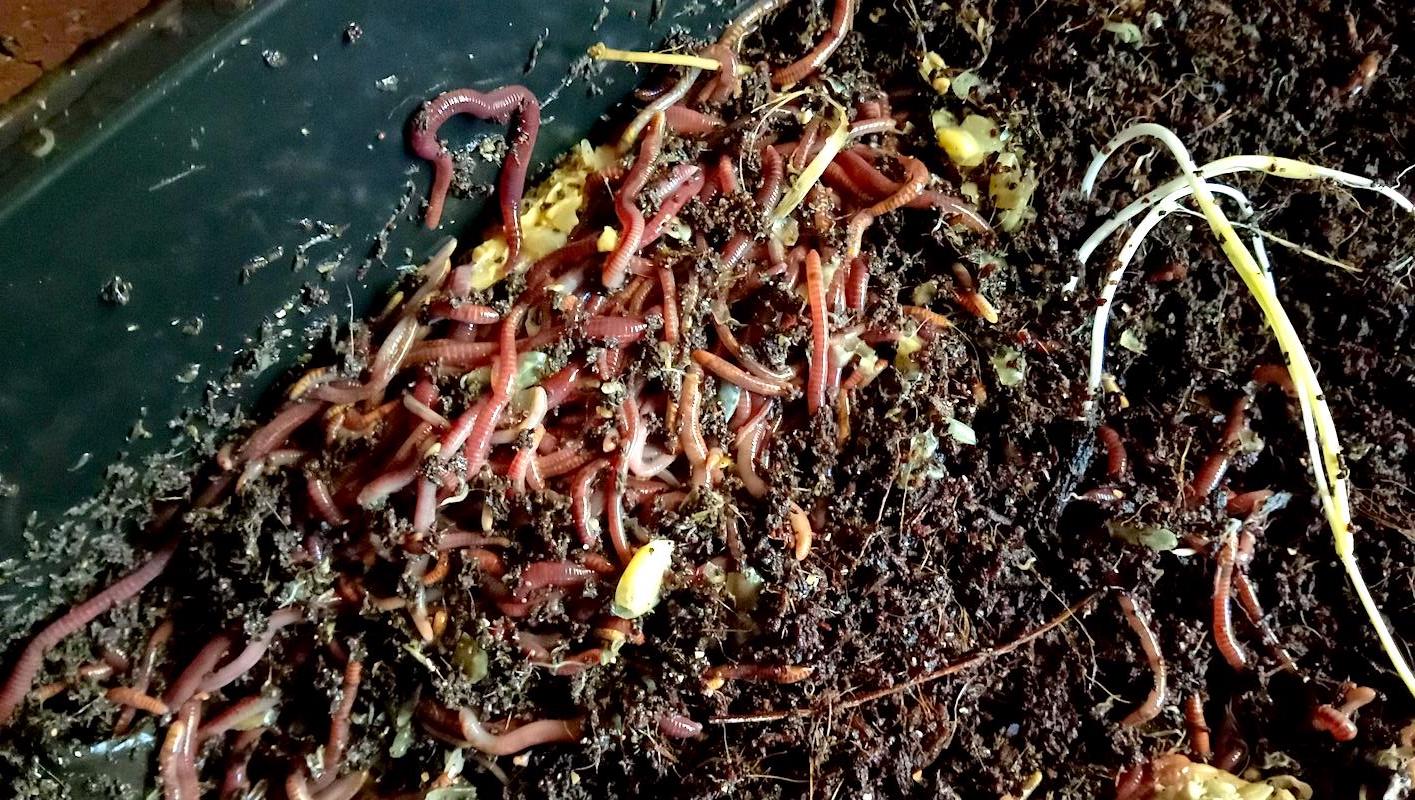
In an average home, over half the household waste is organic and therefore it can be consumed by worms. The worms often used in worm farms are Eisenia andrei and they’re different to the native earthworms found in our Perth gardens. These worms are fantastic workers and they can consume their own bodyweight every two to three days. Imagine how much waste we’d save from landfill and how productive our soil would be if more people used worm farms.
I feed my worms:
Food scraps such as vegetable peelings.
Any leftover fruit and vegetables.
Newspaper.
Cardboard.
Coffee grinds.
Natural fibres like hessian, cotton, linen and wool. If I have damaged clothing that can’t be repaired and it’s made from natural fibre (and does not contain Elastane etc.), then it goes in the worm farm.
Lawn clippings.
Leaves.
I do feed my worms onions and citrus but in small quantities.
I put all my food matter in a blender before I feed it to the worms. This makes it easier for them to eat and they process it faster. Putting whole apple cores for example will take a long time to be consumed but if you process it first, the worms will smash through it really quickly.
Don’t overfeed your worm farm. There’s only so much food your worms can process so don’t load them up with too much at once as the food will rot and your worm farm will stink.
Worms need four times more carbon (newspaper, cardboard, brown leaves) than nitrogen (food scraps and green waste).
Don’t just fill your worm farms with food scraps and green waste otherwise you could just end up with mush. Mix the food scraps and green waste in with paper, cardboard, straw, brown leaves etc. and make a nice consistent mix. Adding shredded paper helps to aerate the bedding and creates more surface area for the bacteria to colonise.
I don’t feed my worms:
Bones.
Meat.
Fish.
Dairy.
Starchy foods.
Oils.
Spicy foods.
I don’t put pet poo in my worm farms either due to the risk of diseases (but plenty of gardeners pop pet poo in their worm farms).
Worms generally won’t eat anything that can still regenerate such as roots and seeds (basically anything that’s still living).
If you’re adding a food item to the worm farm and you’re not sure how it’ll affect the pH or whether the worms will like it, just add it to a small area of the worm farm first and observe.
In order to know how much to feed your worm farm, it’s helpful to know the weight of the worms you’re putting in. This is easy if you’re starting a worm farm as generally 1kg of worms can consume around 300 grams of food per day. But if you have an established worm farm and you’re not sure how much to feed the worms, start by feeding them a small quantity and observe how long it takes to be consumed. If it’s taking a long time, cut back on the food but if it goes quickly, slowly increase the amount but only add more food once the previous lot has been consumed.
Worm castings:
Worm castings are fantastic. They are chock full of beneficial soil microbes which assist plants by helping them access nutrients. Castings help retain moisture in the soil too. They also contain worm eggs, so you’ll have more worms.
Soil microbes need moisture to live so if you’re using castings in your garden, make sure you mix them into the soil otherwise they can dry out if you just leave them on the soil surface. I like to add some to the soil when I’m planting plants and I also mix some into my potting mix and seed raising mix.
You can also make a wonderful liquid fertiliser (worm tea) by popping a good handful of castings into a bucket of fresh water and allowing it to sit for about a day. I use rain water, or leave a bucket of tap water outdoors in sunlight for most of the day before adding the worm castings (this helps to purify the water). I use a small aerator (often used in fish tanks and available from pond shops) to help increase the colony of goodies in the brew. You can also add molasses (no added sulphur) to help feed the brew.
Some tips:
To help maintain the pH of the worm farm, I sprinkle a little bit of dolomite over the surface every week or so to ensure the conditions don’t become too acidic.
Some gardeners have issues with ants in their worm farms. To help prevent attracting ants, don’t overfeed your worms and bury the food scraps in the bedding. Some gardeners sit the feet of their worm farms in containers of water and add a few drops of methylated spirits but I’ve never had a problem with ants.
You might notice some red mites in your worm farm. They won’t harm the worms. They’ll actually help break down the food. Red mites are generally attracted to yeast products. They’ll come and go and I don’t worry about them.
Worm farms need to be located in a cool spot. Due to the fact that most domestic worm farms are made from black plastic, even a couple of hours of morning sun can heat them up considerably and the worms won’t be happy. Even though my worm farms are in the shade, during our really hot summer days in Perth, I usually pop a frozen bottle of water wrapped in newspaper in the worm farm and allow it to melt throughout the day. The worms really appreciate it. I have a few in the freezer and just rotate them.
Once you understand how a worm farm works, it’s really rather simple. There’s loads of different configurations of worm farms around or some gardeners build their own. Once your worm farm is in full swing, you’ll soon learn what works and what doesn’t and you’ll get the hang of it. Regular observation is important.